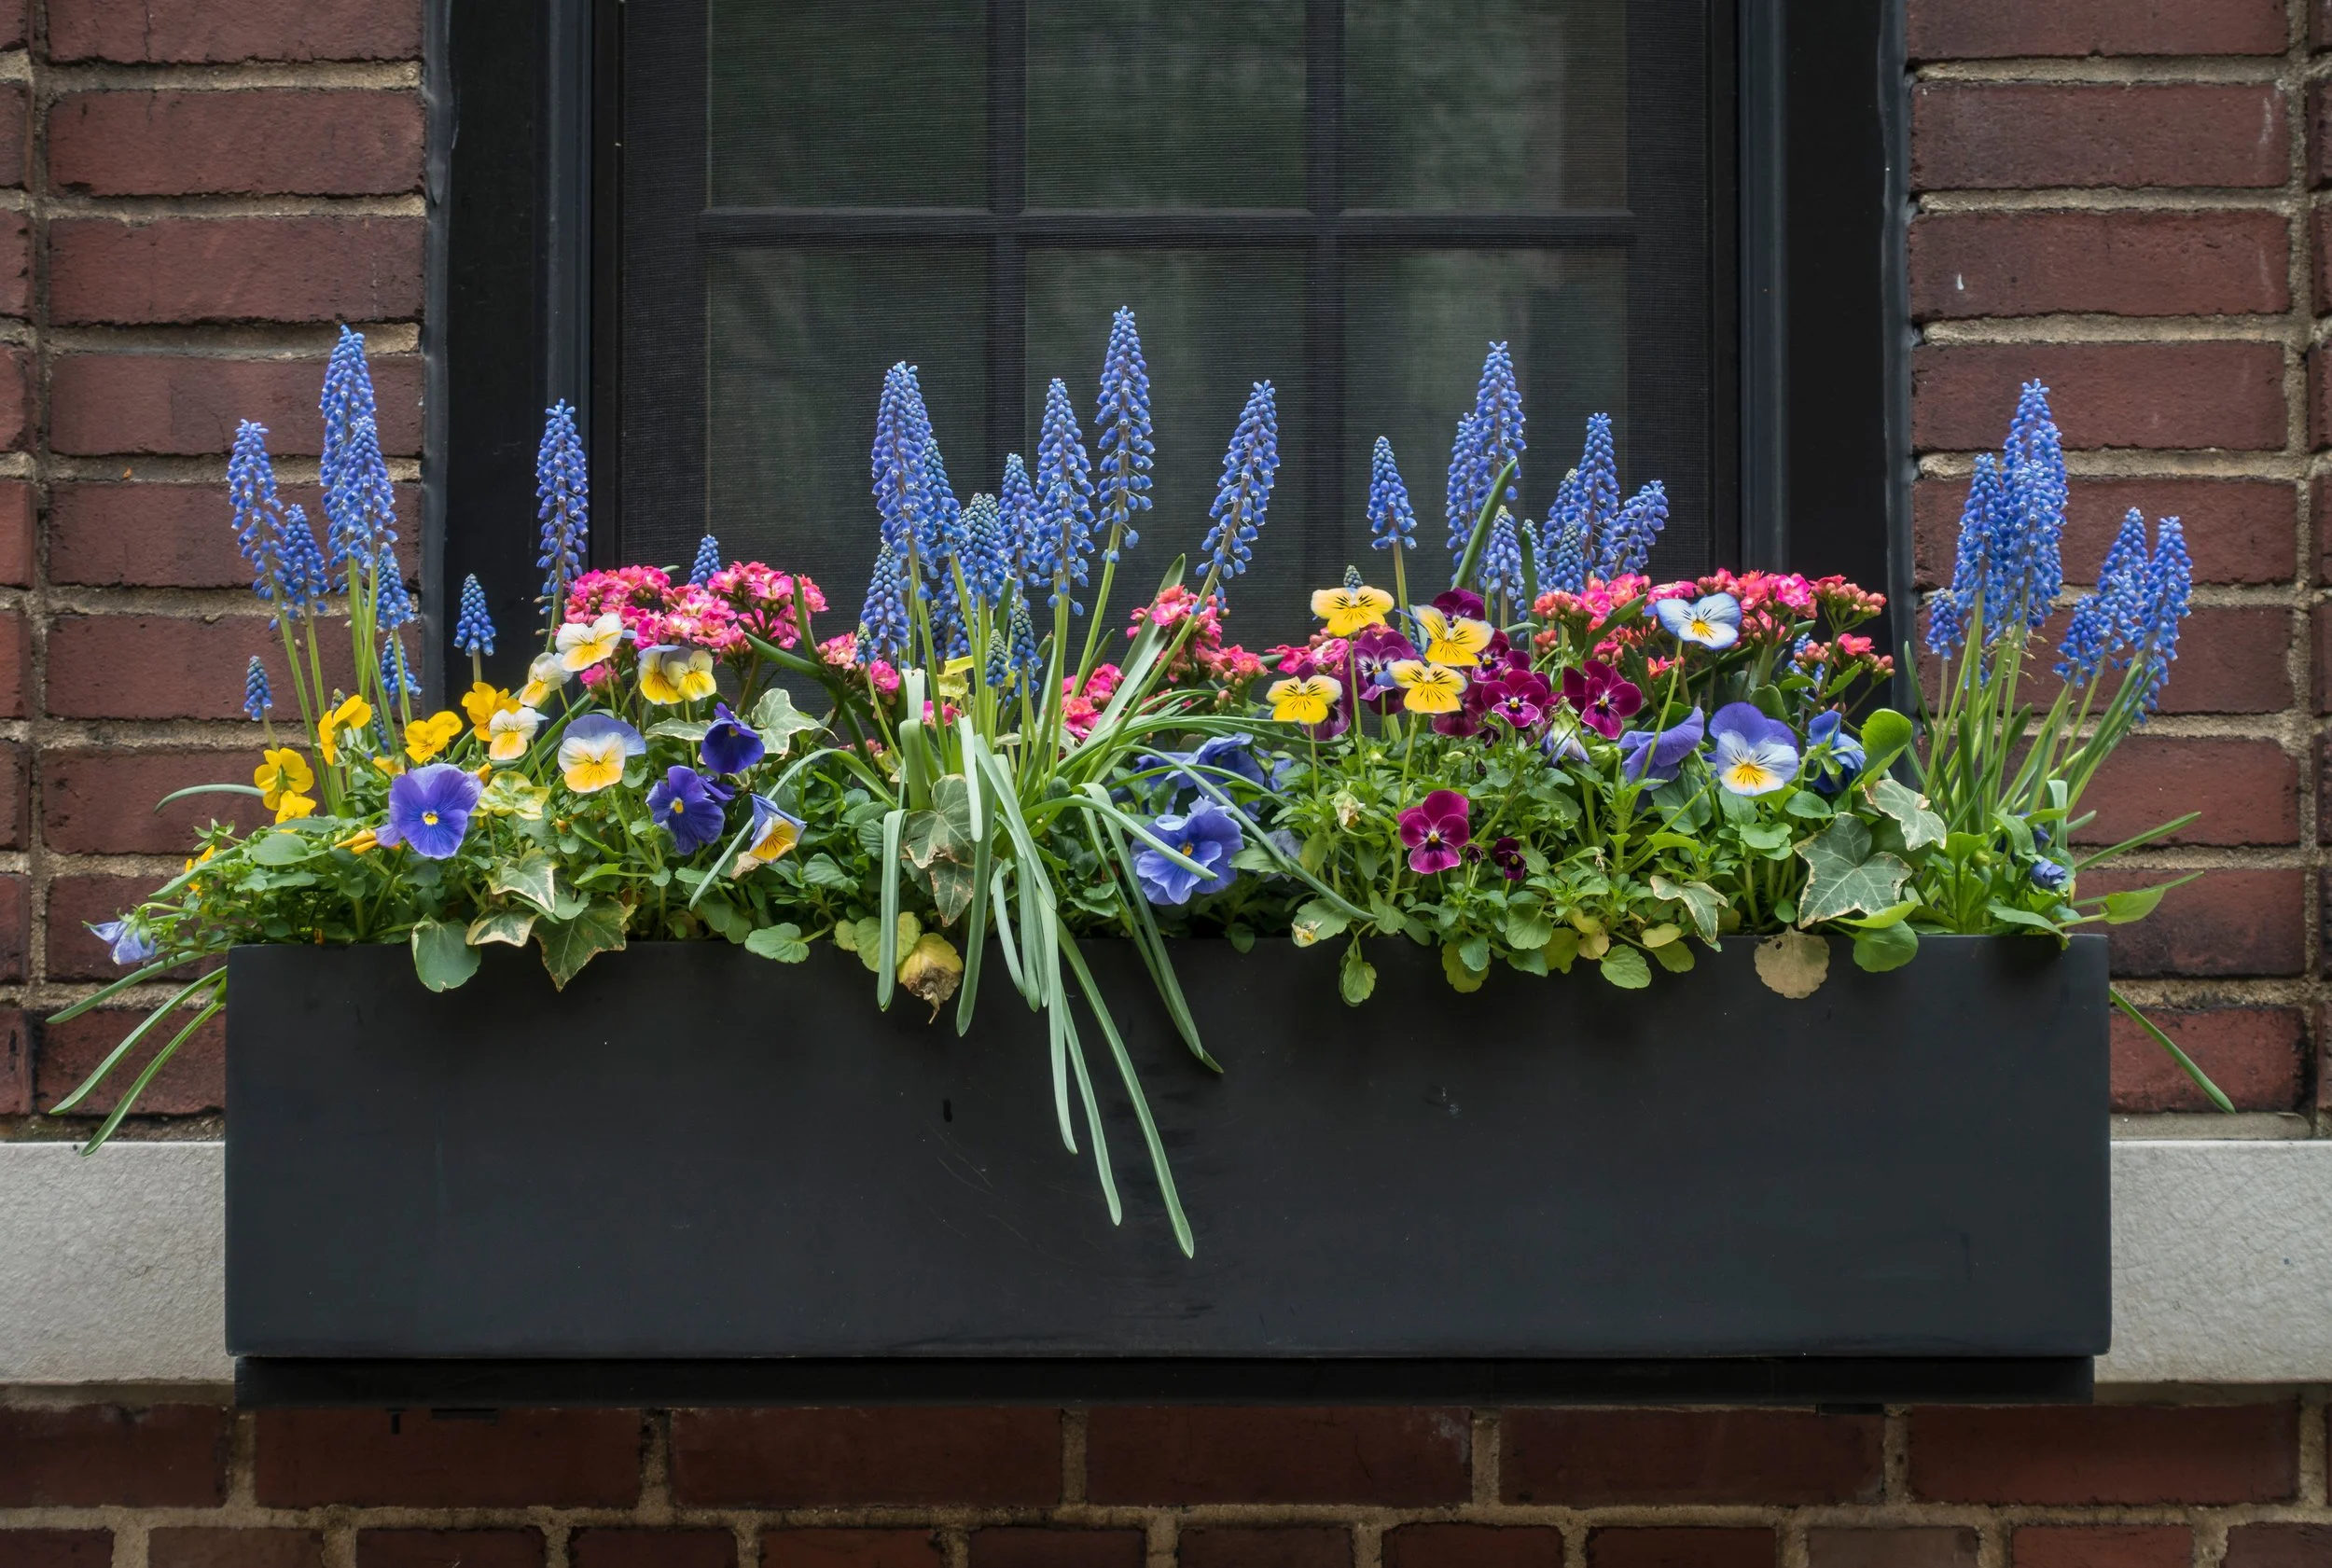
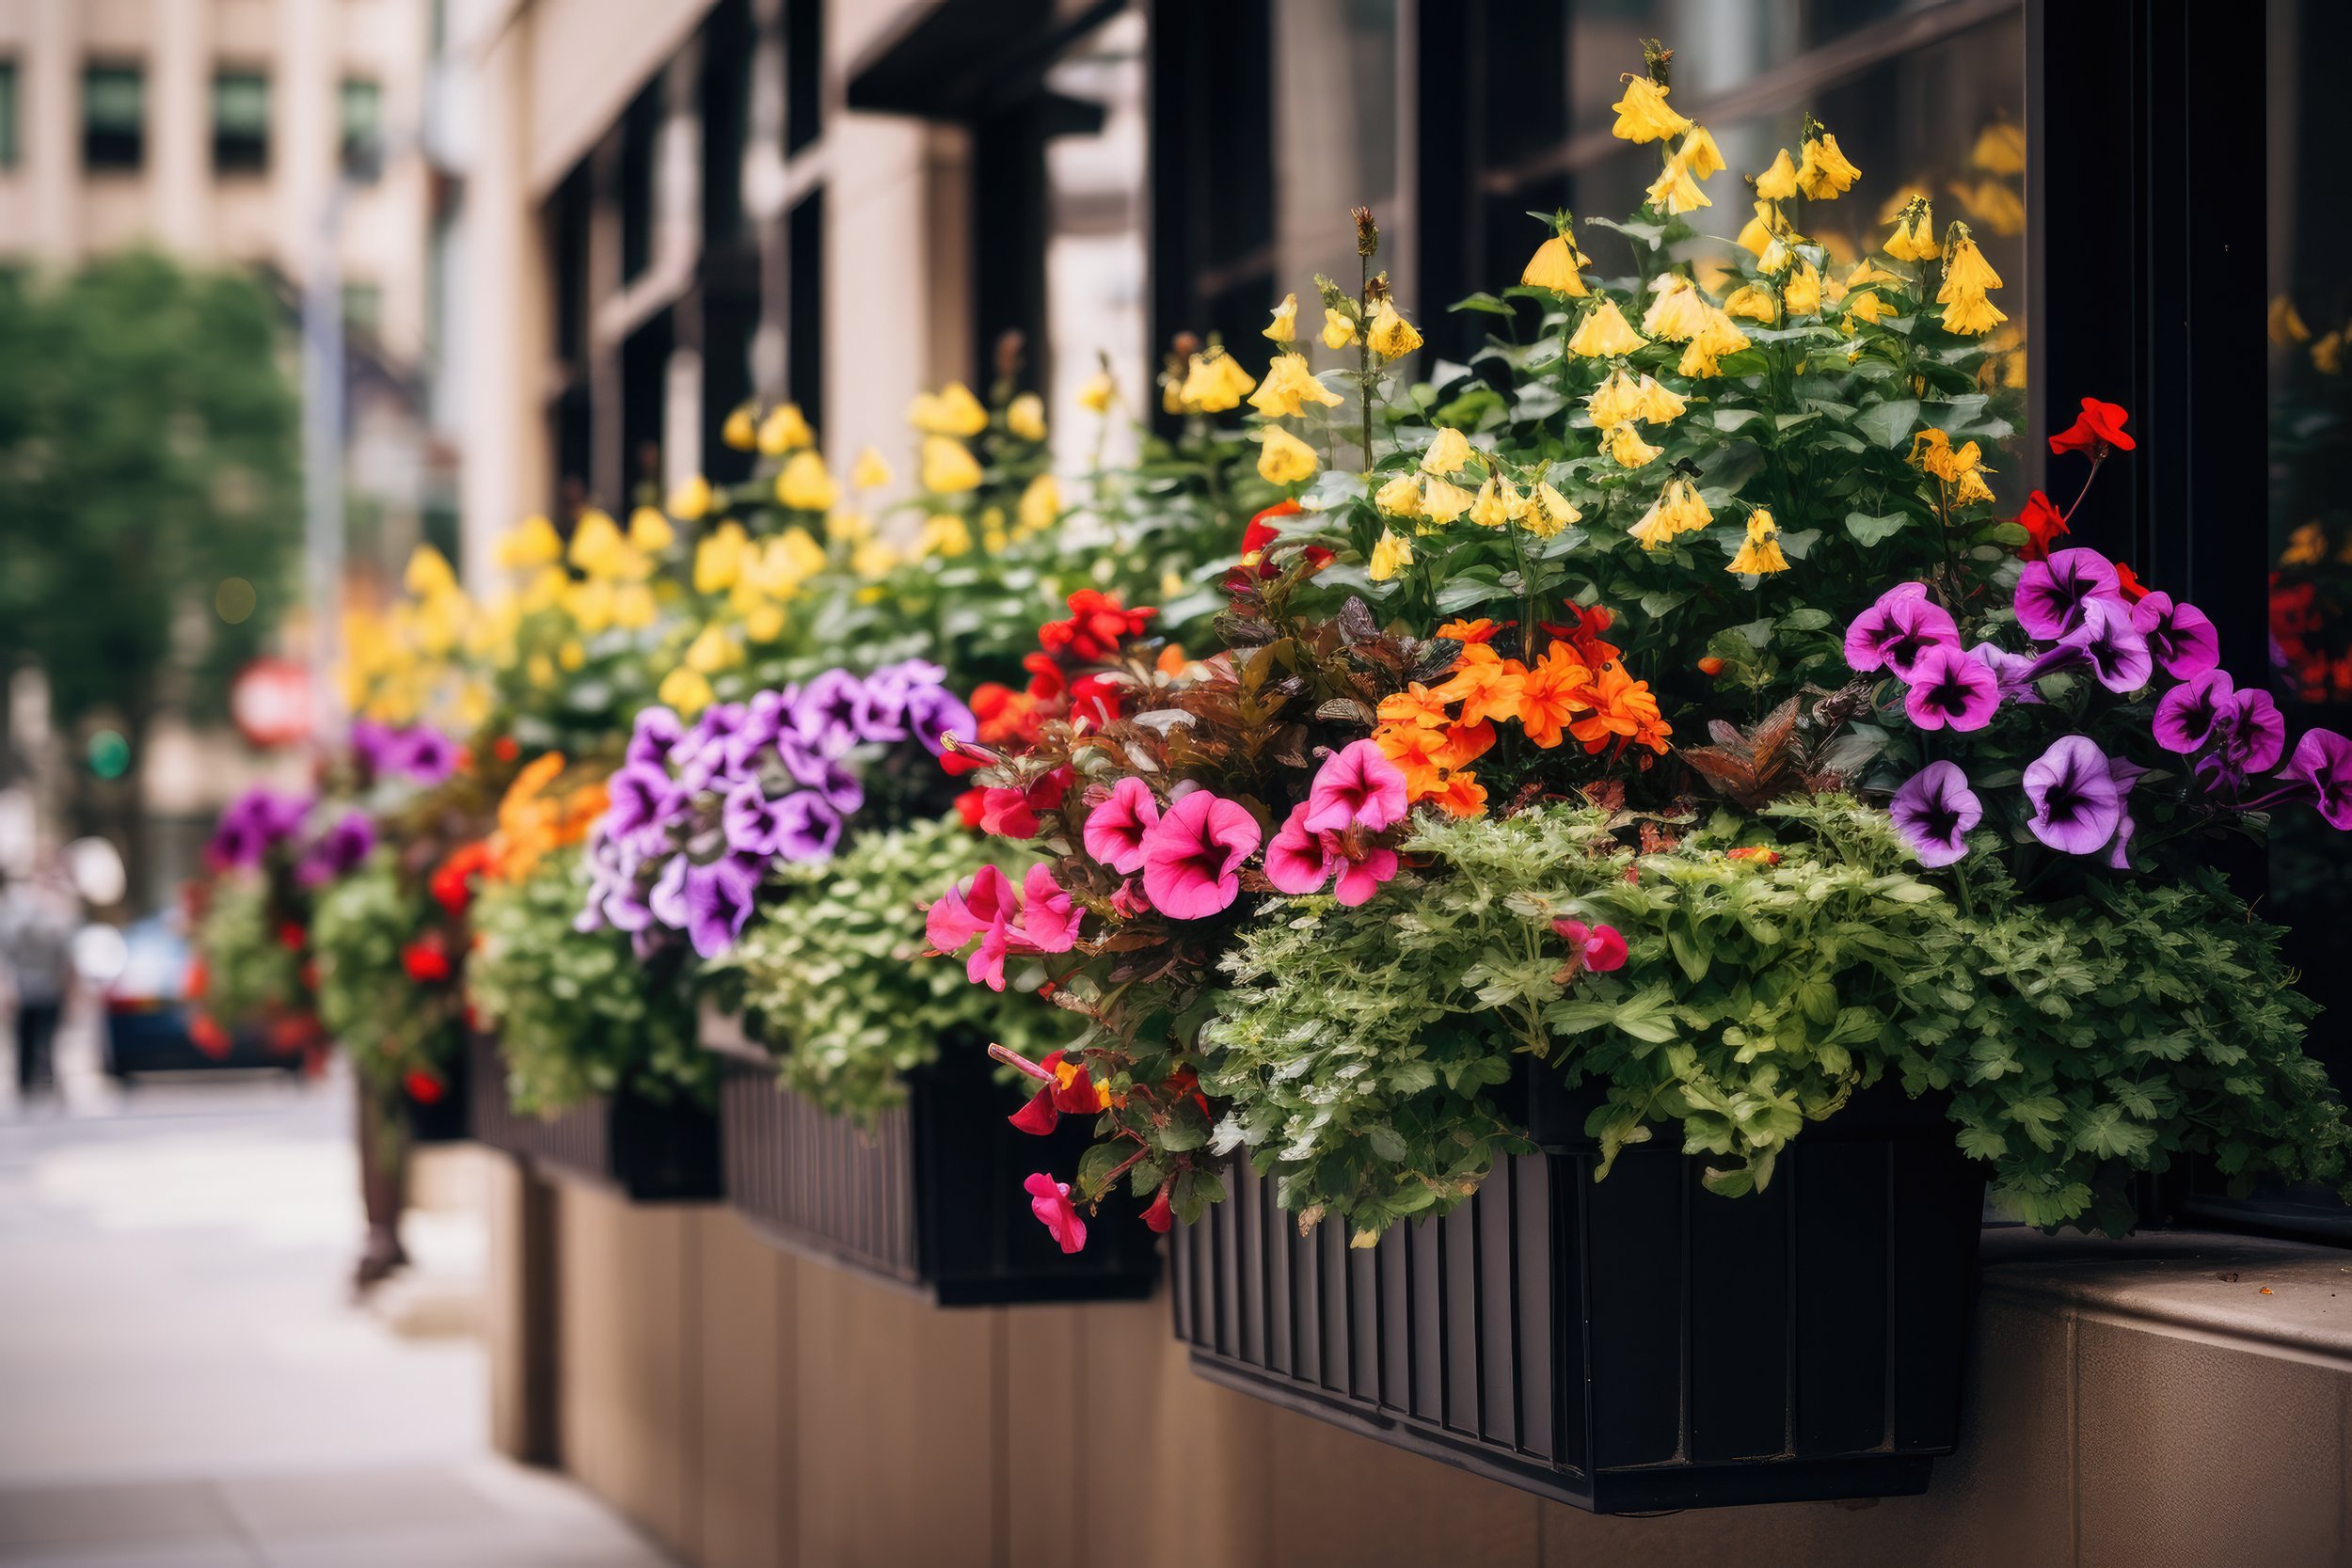
Sprucing Up Your Home's Exterior: How To Attach Window Planter Boxes
Window planter boxes are a fantastic way to add instant curb appeal and bring a touch of nature to your abode. But before you dive into planting vibrant blooms and overflowing greenery, there's the essential first step: attaching them securely.
Fortunately, this quick guide will walk you through the process of attaching window planter boxes, transforming your house from ordinary to extraordinary, one flowery flourish at a time.
Step 1: Choose The Right Window Boxes
First things first: consider the look of your house. Wrought iron window boxes are super tough and never go out of style. Wooden ones feel cozy and can even be painted to match your trim. Whichever material you choose, make sure it complements the colors and design of your house.
Size matters, too! The window boxes shouldn't be overwhelmed by the windows or disappear completely. Choose a size that feels balanced and proportional.
Step 2: Gather Your Tools And Materials
Before you get started, gather your supplies. You'll need a tape measure to ensure proper placement, some rust-resistant screws for outdoor use, brackets that fit your chosen window boxes, a level to keep things straight, and a drill with bits for making starter holes.
A pencil or marker will help you mark where the brackets go, and you'll need a screwdriver or drill driver to put the screws in. If you're attaching the boxes to brick or stone, make sure you have the right tools and anchors for that, too.
Step 3: Prepare The Area
Here's the secret to making your window boxes look amazing: prep work! Give your windows a good scrub to remove any dirt, dust, or old paint that might get in the way of the brackets or cause unevenness.
You can use a stiff brush or a vacuum with a brush attachment. If your window sills are wood, sand down any rough spots so the window boxes have a smooth surface to rest on.
This prep work not only ensures a clean surface for attachment but also promotes better adherence and stability of the window boxes over time.
Step 4: Attach Brackets
Now comes the important part: attaching the brackets securely. Their placement depends on the size and weight of your window boxes.
Use your tape measure and pencil to mark where each bracket goes, making sure they're evenly spaced and aligned with the edges of the window frame or desired placement area. Use a level to confirm that the brackets are straight before securing them with the appropriate screws.
Depending on your window box's design and weight, choose brackets that can adequately support the load when filled with soil and plants. For wooden window boxes, consider using brackets that mount securely to both the window frame and the wall or sill for added stability.
Step 5: Install The Window Box
Once the brackets are securely in place, carefully position the window box onto them. Ensure it sits evenly and securely on the brackets.
For added stability, especially with heavier window boxes or in windy areas, use additional screws to fasten the box to the brackets. Predrill holes in the window box if necessary to prevent splitting and ensure a secure attachment.
When placing multiple window boxes side by side, maintain consistent spacing between them for a cohesive look. Step back to assess the placement from different angles to ensure the window boxes are level and visually balanced with the surrounding architecture.
Step 6: Add Drainage
Drainage holes are crucial! If your window box doesn't have them, drill some small ones in the bottom. This lets excess water escape, preventing root rot and keeping your box (and plants) healthy.
Make sure the holes are big enough for water to flow but not so big that soil washes out. To prevent leaks, especially with wooden or metal boxes, use a waterproof sealant around the holes.
Step 7: Choose The Plants
Consider your climate and how much sun your windows get. For sunny spots, flowering annuals like petunias or marigolds will give you a burst of color all season. Shaded areas are perfect for ferns, ivy, or begonias, which love low light.
Mix and match plants of different heights and colors for a beautiful arrangement that complements your house. Don't forget to consider how big they'll get—you don't want them to overcrowd the box!
Step 8: Plant Your Window Box
Now comes the fun part: planting! Fill your box with a high-quality potting mix that helps with drainage and provides nutrients for your plants.
Arrange your chosen plants based on their size, with taller ones in the back and shorter or trailing ones in the front. Loosen the roots gently and place them in the soil, then firm everything up.
Give them a good watering to settle the soil and keep them happy. A slow-release fertilizer or compost can be your plant's secret weapon for healthy growth and vibrant blooms.
Step 9: Enhance Seasonal Appeal
Don't let your window boxes get boring! Change your plants throughout the year to keep things fresh. Swap out winter pansies for spring tulips or daffodils to add a pop of color and fragrance. In summer, trade in cool-season plants for heat-loving zinnias or sunflowers, which will attract pollinators to your garden.
Consider adding seasonal elements like ornamental grasses or trailing vines for extra texture and movement. Remember to adjust watering and fertilizing as the seasons change to ensure your plants have everything they need to thrive and keep blooming beautifully.
Wrapping Up
Window planter boxes are a quick and easy way to dress up your house. They come in all styles, and adding them is a process you can totally tackle yourself.
With a little planning, installing your boxes is the first step to transforming your windows into explosions of color. Not only will they make your home look amazing, but they'll also show off your gardening skills and personal taste.


